I Robin-ized something!
4 or 5 years ago, I decided on a chalkboard for the kitchen. I use it to write scriptures or birthday greetings, and occasionally a to-do list love note for Dave. So, I purchased one, cut the size to get a more unique-than-your-basic-office sized board and Dave put a thicker, aged wood frame on it. I have never liked it. Not only boring in looks, the board itself stunk at holding the chalk lines. It is some sort of plastic-y coating and never worked well.
Enter the sister-in-law. She buys old fake oil-paintings in interesting and pretty frames, paints over the print with chalkboard paint and voila! A nice chalk-holding surface that has some age and interest to it. You know this has been the year of the chalkboard-painted-stuff quest for me: here or here or here or even here!
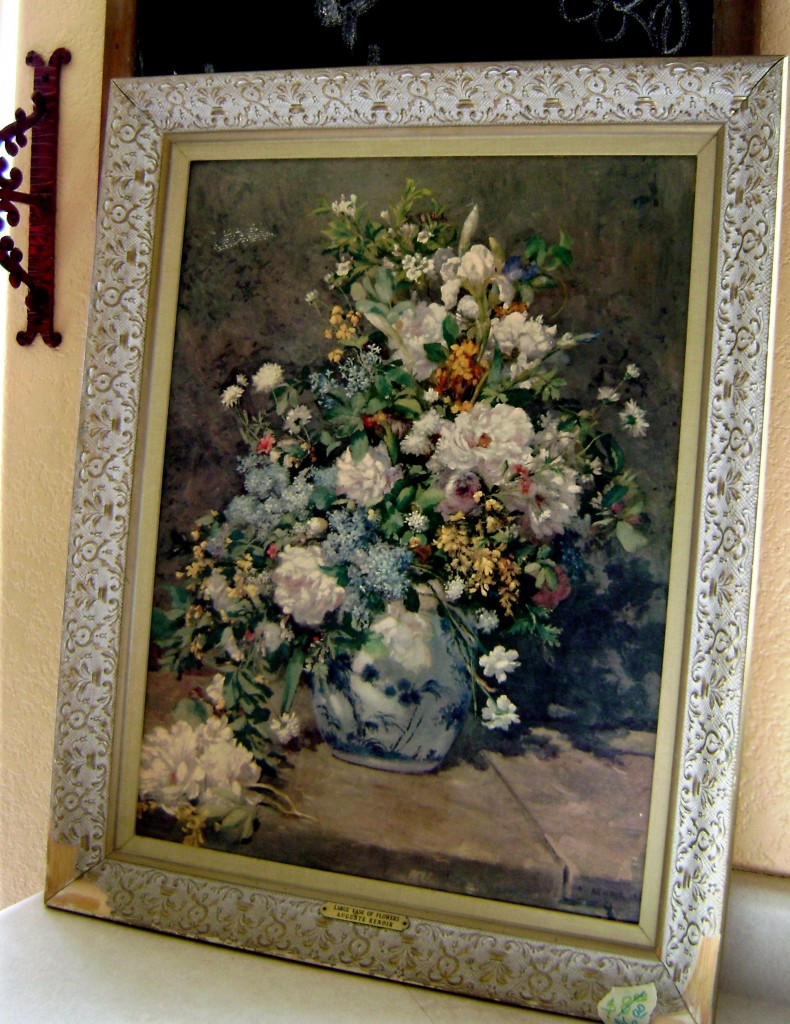
One day last week I decided it was time to make the change. And, as if a sign from the heavens that yes! this is the time! – Stephanie-the-daughter brings in an old (late 50s or early 60s?) fake-oil Renoir in a very fussy (antique white with a goldish glaze) frame. Her neighbor gave it to her and she mostly took it to be kind, but it was perfect for my plan!
Here is how…
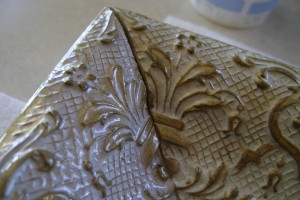
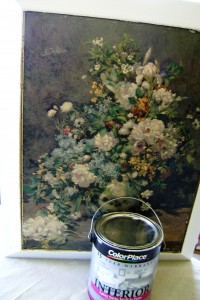
I took the frame and print apart and washed everything. I lightly sanded and used de-glosser on them (btw-I painted the back of the picture so that if someday, some one comes along who is mortified that I should have treated this piece so, they may switch it back around and enjoy their fake-oil-painted-fake-canvas art – I am thoughtful that way) and then dug in. I painted 2 generous coats of the chalkboard paint on the board (which Robin assures me is sufficient). Then I spray-primed the frame and painted two coats of white satin latex paint on the frame with a trim brush.
Before:
These photos make the painting look pretty brilliant, but it is actually rather subdued in color, dusty looking.
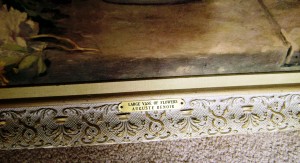
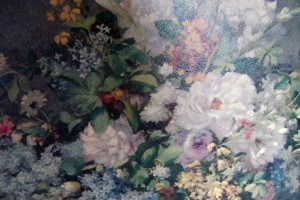
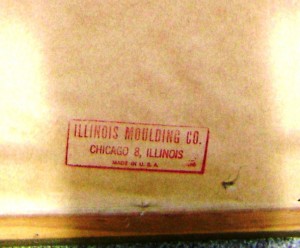
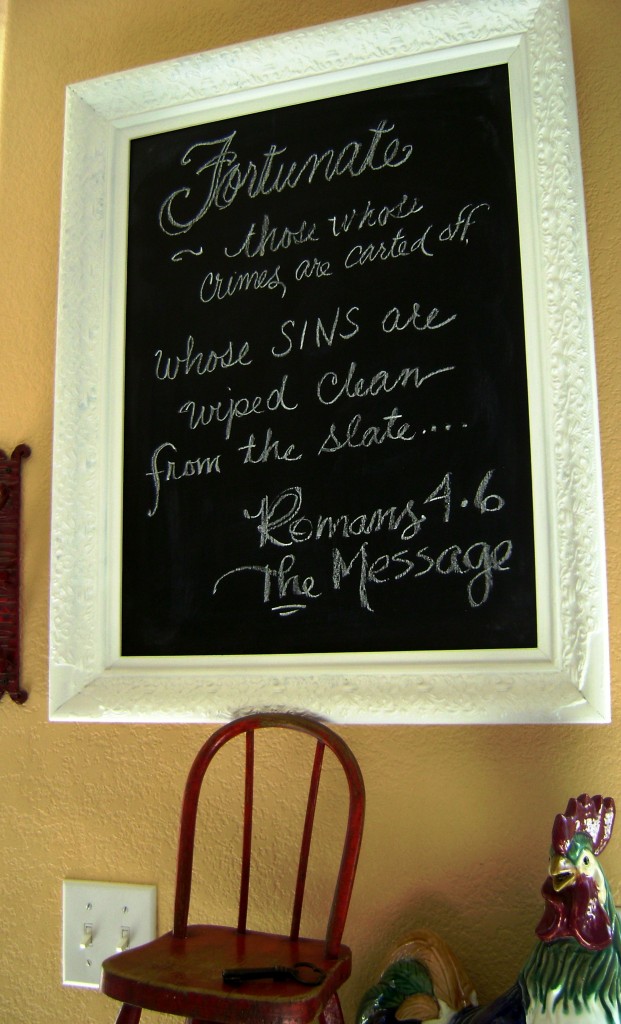
After:
Honestly, I had trouble actually using chalk on it at first. I loved the black blackboard contrasting the white white of the frame, but you have to rub a piece of chalk over the whole thing to “prime” it for use. Once that is done, you may proceed happily. I thought the scripture appropriate for the occasion!
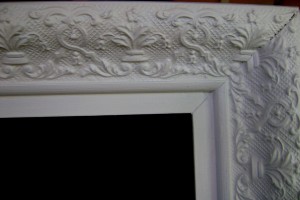
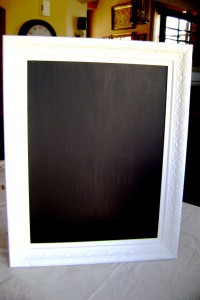
I don’t neglect the old chalkboard (again with the thoughtfulness)…
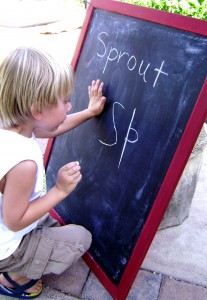
Meanwhile, I rubbed an engine-red coat of paint onto the frame of the old chalkboard, allowing the wood grain to still show through a bit; sanded and re-painted the actual board for better chalk-holdage and now the grand-bebes may enjoy chalking on it to their heart’s delight, as always…but better. It now looks very vintage, which I always wanted anyway. Very Pottery Barn.
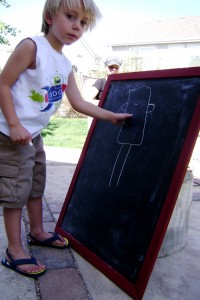
The area of the new board is almost half of the last one, but what I lose in space, I have gained in something I like much better…for now. I really had a secret desire to paint the frame glossy-enamel mimosa, but that would have required re-painting the entire kitchen. Dave frowns on that sort of impetuous thinking.
This is what I did when the sun showed back up…Jeanie
NOTE TO SELF: make everyone I know a unique and adorable chalkboard…just kidding…maybe…or not…
pictured: some “befores,” some “afters” (including the actual print facing the back – to prove I didn’t harm the fake oil)and Hunter outside writing on the “new” old chalkboard.
