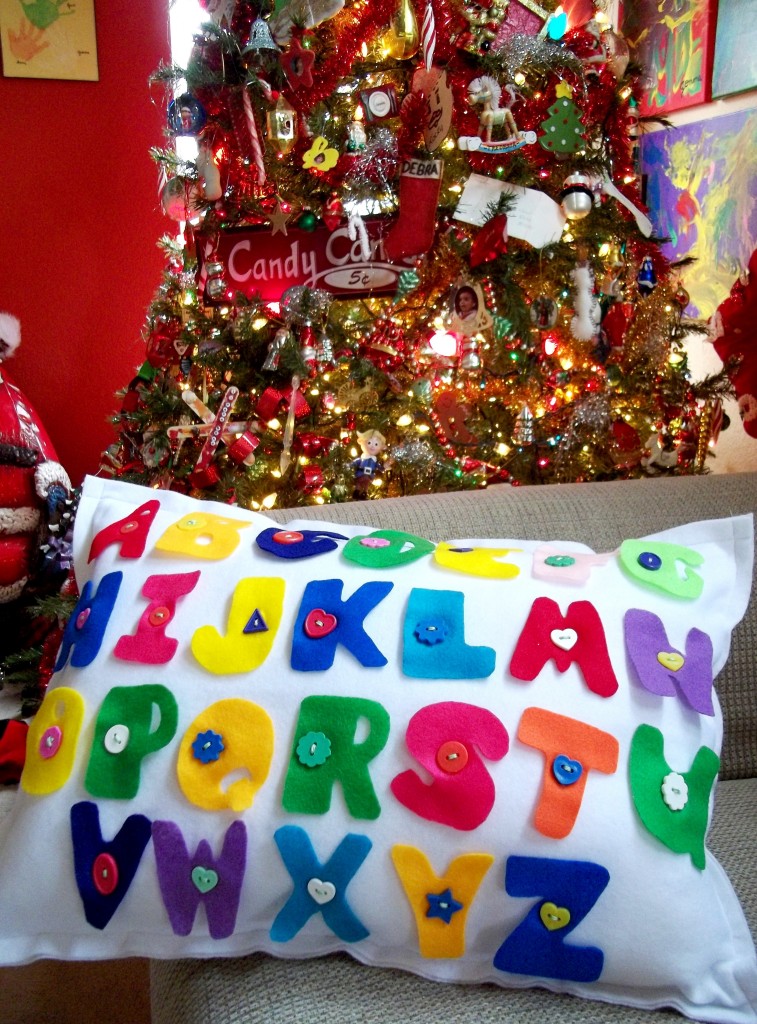
Shhhhhh…..don’t tell Gemma May, nor Averi Jadyn what you saw here…
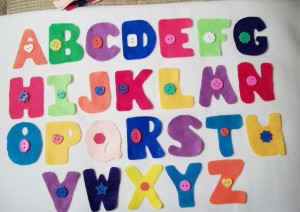
Found this ABC Pillow way back when it would have been an appropriate activity for Hunter and Guinivere, and though I didn’t get around to it then, I am making these for Gemma and Averi for Christmas.
www.marthastewart.com
The instructions as well as a 5-page PDF alphabet template may be found at http://www.marthastewart.com/article/abc-pillow . I did print out the letters, I did not follow her instructions. It isn’t that I read them and did something else. I just did what seemed natural without readingher instructions and perhaps we did them similarly?
For each pillow I bought a 36″-square of white felt at Michaels. I also bought 6 29-cent felt rectangles in various colors. That way, I was able to not only provide each girl with a full alphabet set, but also extra letters for spelling their names and other short phrases if they so desire.
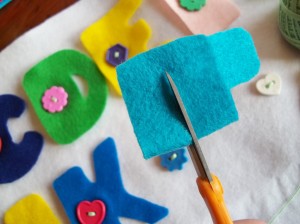
First I cut out the letters (2 at a time). Not really that fun, but the fun time is coming!
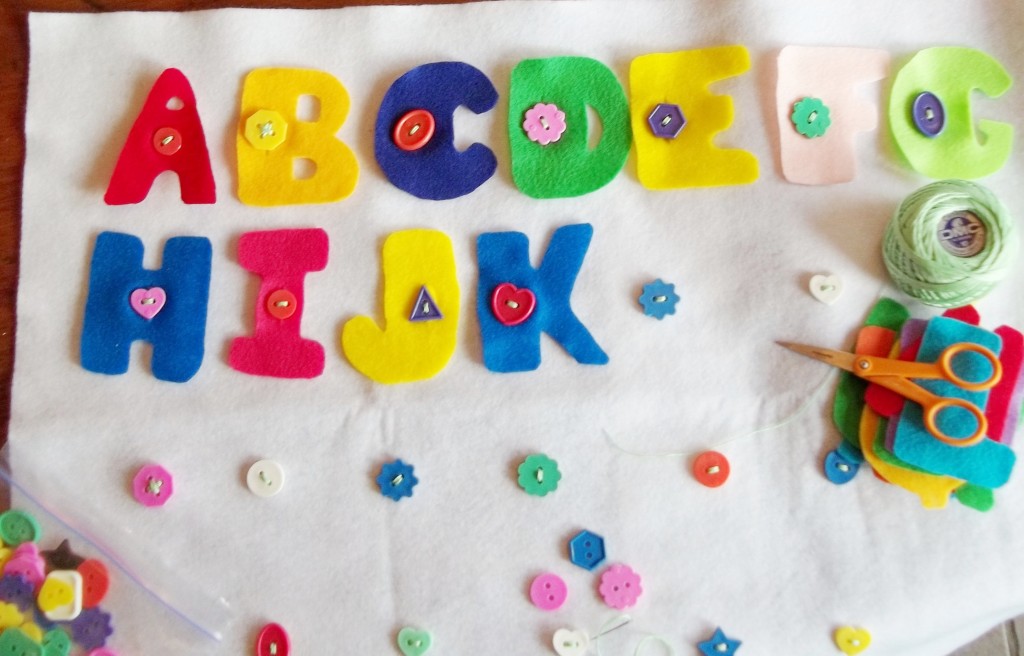
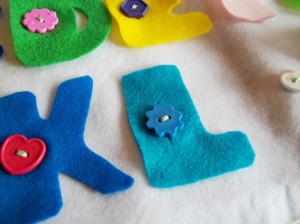
Then I laid them out on the folded white sqaure and just sort of eyeballed the placement. when it seemed right, I cut off the excess fabric on the right and cut the folded piece in half. To decide on button placement (don’t be thinking you can just measure out an even grid and have it work, no, no!), I held a red Sharpie just above each letter halfway between the top and bottom verticallt and halfway between the fattest pasrt of the letter. So, like the “L”, the dot would have been right in the middle of the left part if it, the up-and-down line. Does that make sense? then, I’d pull the letter away and plop a red dot right on my white felt where I wanted to center the button!
Next, I used buttons from my 1-cent bag, as recently purchased at Michael’s (it was clearance marked for $2.99 from an original $5.99) and sewed them over the red dots twice through each hole using doily-type crochet yarn. Since, unlike Martha, my buttons were a variety of shapes and sizes, I just made a mental note as I sewed them which letter they were for. The “I” needed a smaller button, but the “Q” could be pretty sizable.
By the way, I should mention, I did not plan out letter colors or button placement. I just let it happen. When I was cutting letters, I first just made little felt piles for each and mixed and matched. The buttons I grabbed randomly from a little pile of buttons. I just let whatever wanted to happen, happen because it was all going to be a bunch of color, any!
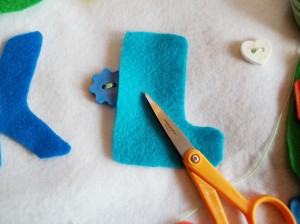
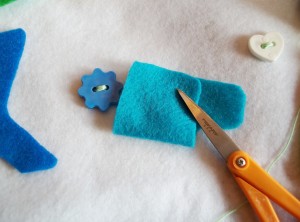
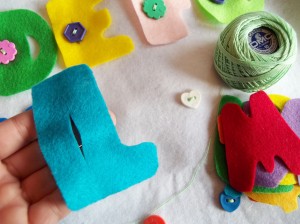
Next, was cutting the slits for the letters. I did not use the templates here. I just fold the letters in half, top to bottom and made a quart-inch cut vertically in the widest part of the letter.
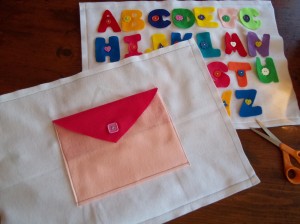
Once the buttons were all on. I sewed a felt “envelope” on the back of the pillow for holding extra letters when not in use, then sewed a straight seam around 3 sides attaching the front to the back. Stuffed with a little poly-filling (and a bunch of love!) and one more seam to close it up and voila!
It is all very non-scientific. Just a fun way for my girlies to practice recognizing their alphabet AND becoming proficient at buttoning!
Thank-you, very much, Martha Stewart, for the cute little idea.
Gemma’s finished pillow. The “family keepsakes” tree is in the background. It is out “little” tree, jam-packed with all kinds of love and memories. See Rocky as a baby? My kindergarten sock? How about the ornament from Stef & Wrex? And the tiny place-setting from Amy Jo? There is a snowflake Hunter made me and Stormie at 6 in a little felt bunny “frame.” It’s full of homemade and vintage and even a letter to Santa is tucked in to the branches. *sniff, sniff
COST for two pillows: 2 white felt squares @ $2.99 each + 12 to 14 colorful rectangles felt pieces @ 29-cents + big bag o’buttons @ 2-cents +other stuff I already had = not much $$$, but lots and lots of love and adoration for my two pretty bebes!


